Before & After Comparison

Odin with first skin paint job

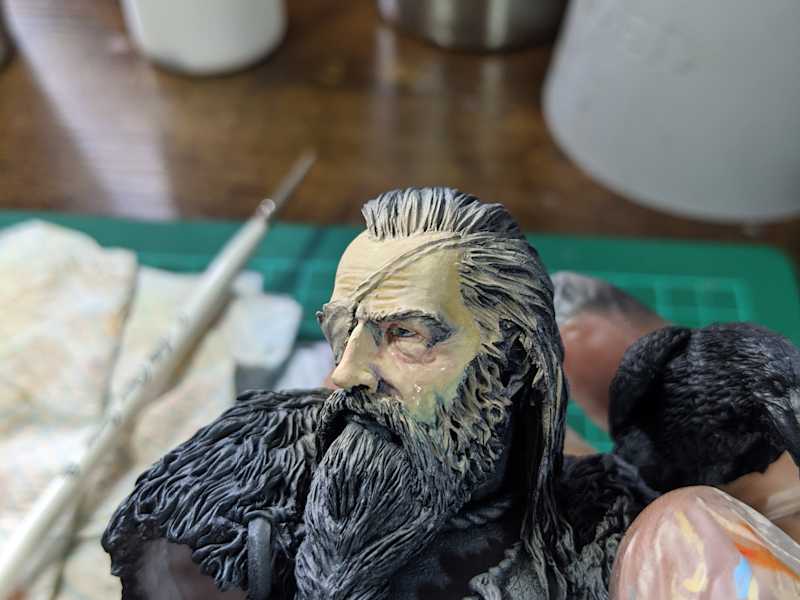
Initial pass of skin tones for Odin Bust
After finishing my Jane Byrne statue I was looking for something a bit different when I came across a project from way back when. Back when I started into miniature painting I picked up a couple of busts off ebay. One was a roman legionnaire (which I will at some point pick up) and the other was a bust of Odin from Nuts Planet.
When I picked it up I think my ambition was a lot greater than my skill set, not in itself a bad thing but it meant that I quickly got discouraged, at this point I'd painted maybe 3 space marine heads and not much else in terms of skin. The change from 32mm space marines to a full bust led to some interesting results.

Odin with first skin paint job
While this wasn't terrible it wasn't anywhere near where I wanted it to be and ultimately I put the bust down and forgot about it for about 4 years.
Now with a couple more busts under my belt and more of an idea of the skills needed to paint skin along with the techniques like glazing and blending I decided to give it another go.
First things first I re-base coated it using the Pro-Acryl primers, giving it a standard zenithal highlight with slight focus towards the face.
From here I then used the Scale75 Artist range, specifically their skin tones set that includes a really good set to quickly get a good skin tone set in place. With this I was able to create the following:

Initial pass of skin tones for Odin Bust
I left the eyes blank for now as I can come back and get them right when I'm closer to done. I then moved onto the gold NMM pieces, I didn't want too much gold on this piece but I found the ring/brooch on the chest, the should guard and the bracer detail to be good candidates. I used Burnt Umber to create a dark brown base coat which I then overlayed with very thin coats of Yellow Ochre. I then tried using Naples yellow to highlight this and created the following:

Chest Brooch
I found this to be a bit too yellow and found it didn't quite read as the gold I'd intended (if anything I think it was closer to brass). I went back over with a Yellow Ochre glaze and then added Vanilla White to it to create a colder highlight colour, several very thin coats later and this was the result:

The gold NMM pieces done closer to the original intent
I'm much happier with this as I found the colour to be much closer to what I had envisaged when I started.
This is where I've taken a brief break and will be going back in later, I might redo the chest brooch from scratch as I think it still reads a bit too warm and there are some gradients I could blend out a bit cleaner but overall much happier with where the project is going.